Project 48: 2 0f 48

Today the 2nd block for Project 48 was published! As I mentioned last week, this is a mystery quilt-a-long I’m doing along with a friend. There’s lots of people from all over world doing Project 48, and it’s been really interesting seeing everyone’s blocks on Facebook as we all complete them. It is really educational and inspirational to see how the different fabric choices make such a difference in them all!

I’ve given myself the following ‘guidelines’:

  • I’ll stash dive, i.e. only use fabrics I already have.
  • I’ll use white as a ‘background’ colour, although if I don’t want to put white in a block I won’t worry about it.
  • Each block will be centred around bright colours.
  • There will be 8 blocks centred around 6 different bright colours.
  • I can always do more than one of a certain block if I don’t like how it’s turned out.
  • Try to have some fun and not be intensely anally retentive (sure).

I don’t like orange very much, so for the second week in a row I’ve decided to knock another orange block off!

Last week’s block was a traditional one, so this week’s block is a modern spin on the traditional theme. This month’s theme is 9 patch, and this week we’re doing a disappearing 9 patch. It’s just the sort of block I’m excited about playing with!

Looking through my stash, I wanted a medium large pattern to use for the blocks that don’t get re-cut. I almost used some geometric florals I have that are the same pattern but in 4 different colours, but it didn’t really come together in my mind – or really have one dominant colour. I also had a great fat quarter with some cool owls – lots of great colours, so I could pick one out as a dominant – however 1) it would add a lot of darkness to the block and 2) as there are only 2 other fabrics in the block there wouldn’t be much colour unless I eliminated white from the block.

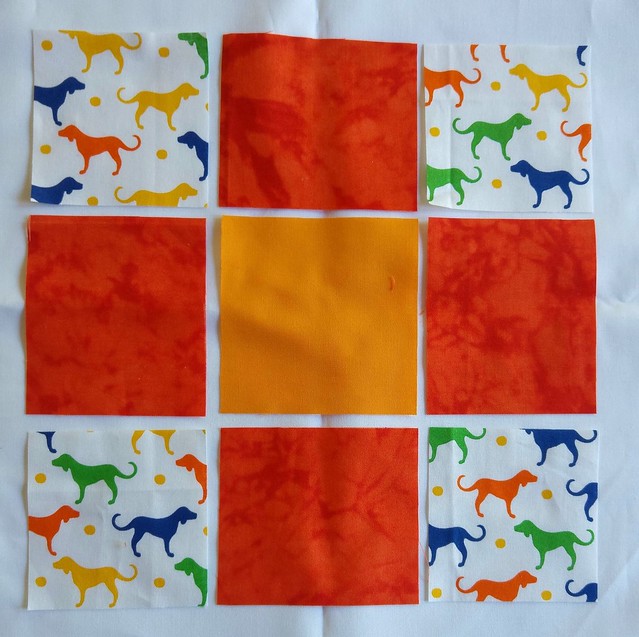
Looking around some more I found some different coloured dogs on a white background, so I decided to use that as both my ‘unifying white’ and as the pattern block. I was going to be a bit fussy about how I cut it up, but in the end decided to just let it come as it comes. I do wish on the Project 48 instructions they labeled the different fabrics. They refer to fabric 1, fabric 2, etc in the instructions, but it can take a bit to figure out which is which. Here’s my fabrics:

Fabric cut for block 2 of Project 48

The instructions do mention to press seams towards fabric 2; this helps the fabric ‘nest’ when you sew together the 9 patch block. It might seem really fussy, but that difference in thickness certainly can make a difference to the final result – the more seams coming together, the more important it becomes.
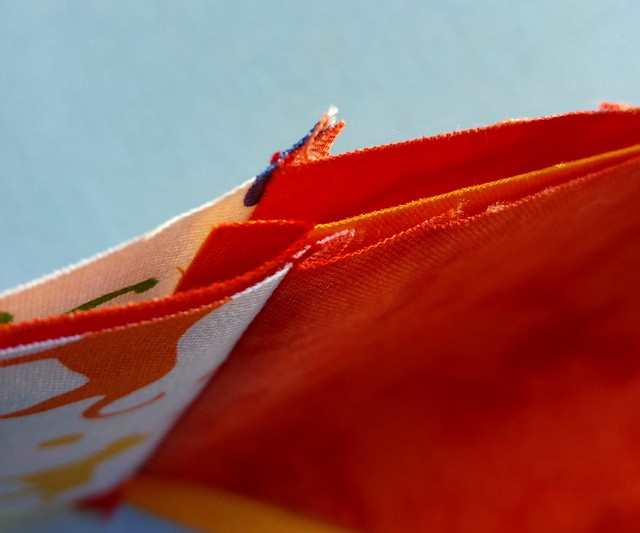
Seams pressed towards the orange batik

Here’s the 9 patch, where a traditional block would stop.
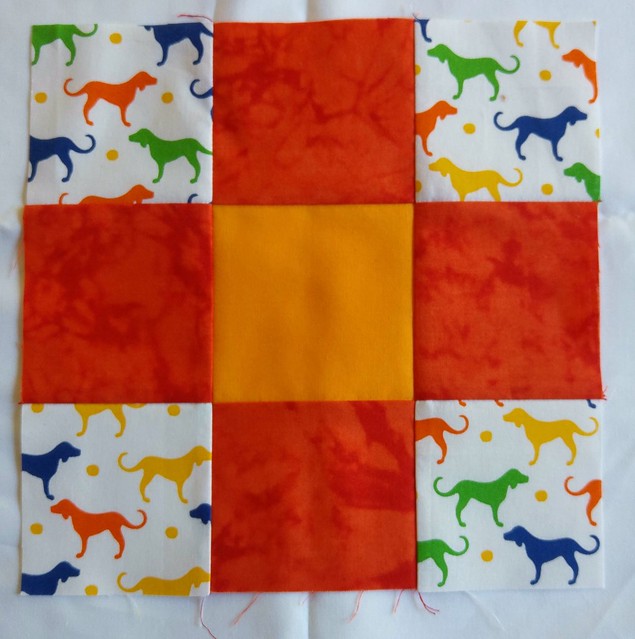
Columns and rows together

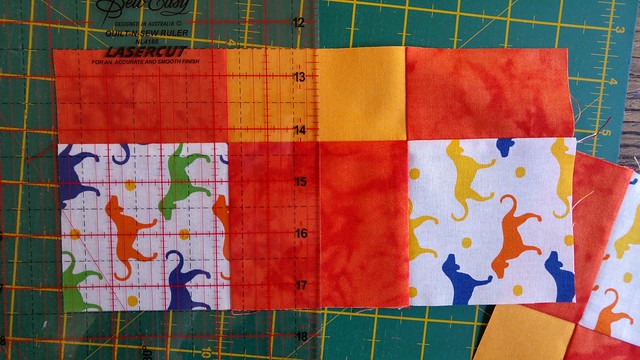
However this block is going a bit further; it will now be cut up and rearranged. One thing that’s not mentioned in the Project 48 tutorial that I think is worth mentioning is that when cutting up or trimming a block, don’t necessarily line the edge of the block up with the ruler. Internal seams can be a better guide.
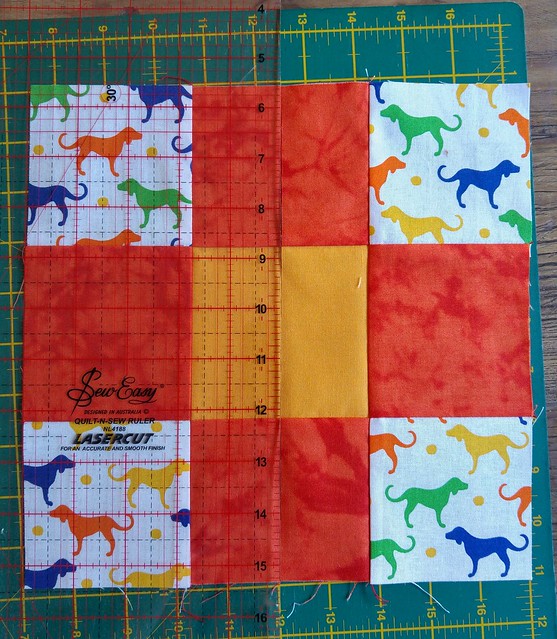
Cutting up the 9 patch - looking at the internal measurements
Cutting the other way

The writer of this week’s block tutorial mentions she always pins each seam. It really shows how different we all are: I almost next pin seams when quilting. I find it more important to nest seams at right angles to what I’m sewing and ensure the seams I’m sewing over aren’t ‘flipped’ as I sew across them. And to me pinning can often change the alignment; I prefer to perfect as I go. Obviously pinning works for her; her block looks perfect. Perhaps I don’t pin correctly?

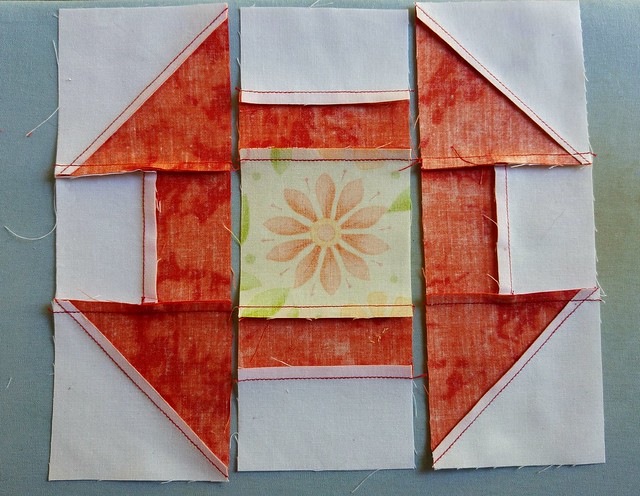
Here’s the finished block after the 9 patch was cut up and put back together.
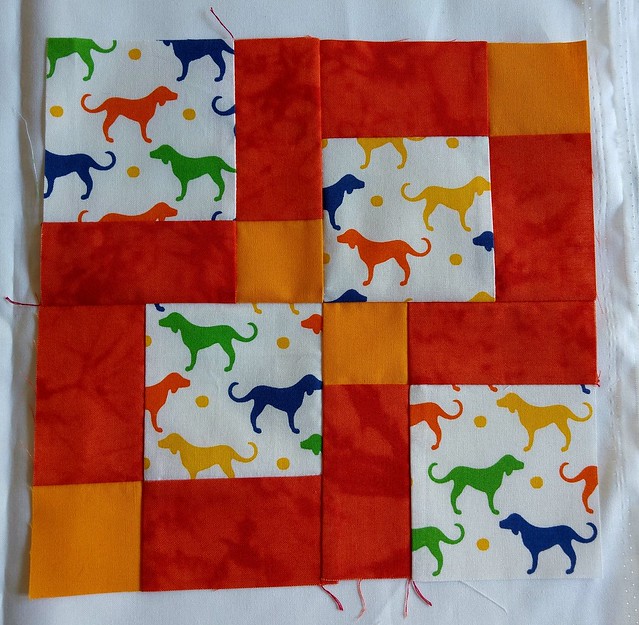
2 of 48 completed

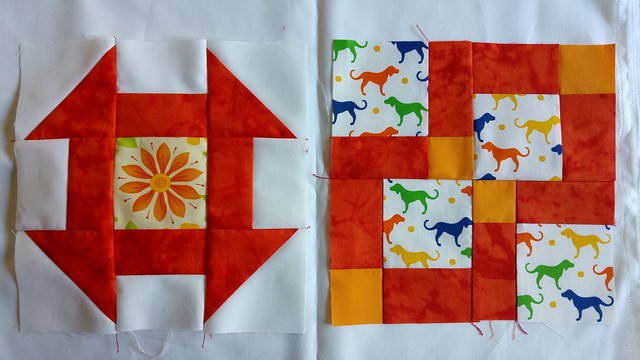
Blocks 1 and 2 of 48.
1 and 2 of 48

Posted in Project 48, Quilting | Comments Off on Project 48: 2 0f 48

Dancing Around the Tree

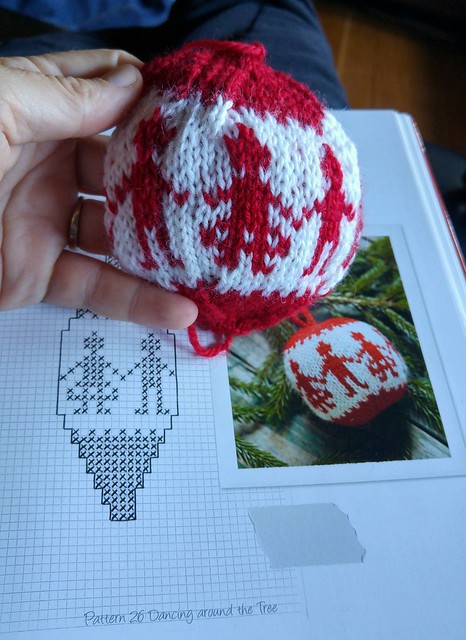
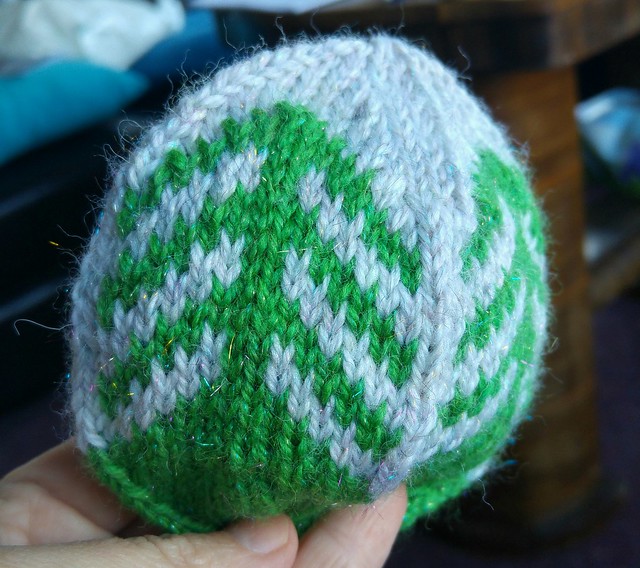
Still ill. Still on the couch. I knitted another Christmas ball, #26 Dancing Around the Tree.

Still ill. Another Christmas ball.

Posted in 55 Christmas Balls, Knitting | Comments Off on Dancing Around the Tree

Verity Beret

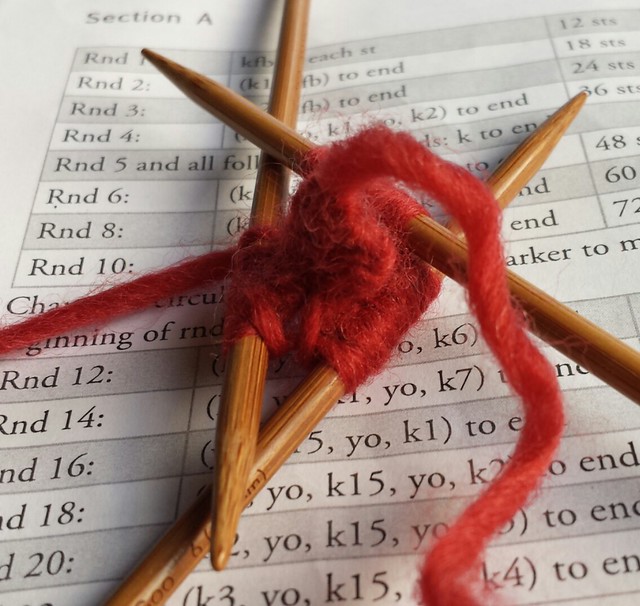
On 3 June 2015 I was home from work ill, so I started a new project.
Start of a new project

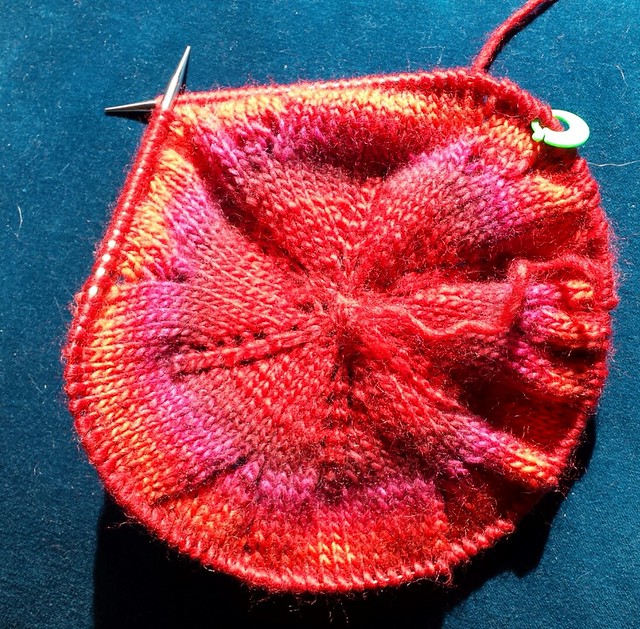
I made great progress.
Progress

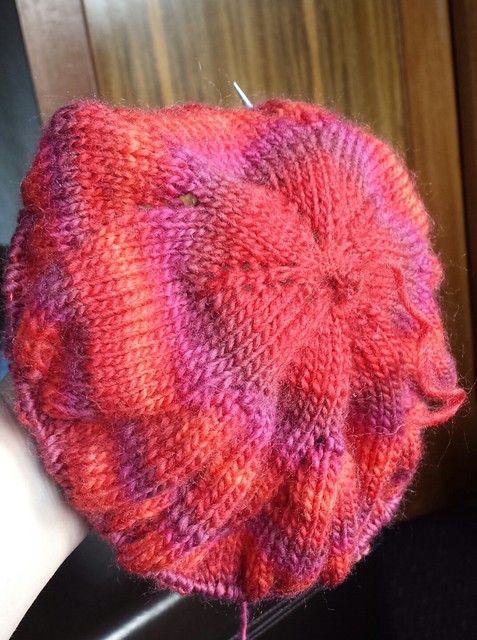
It’s amazing what you can do without a little Sparky around. In fact, I finished the entire hat – except for the band at the base.
It's looking very hattish

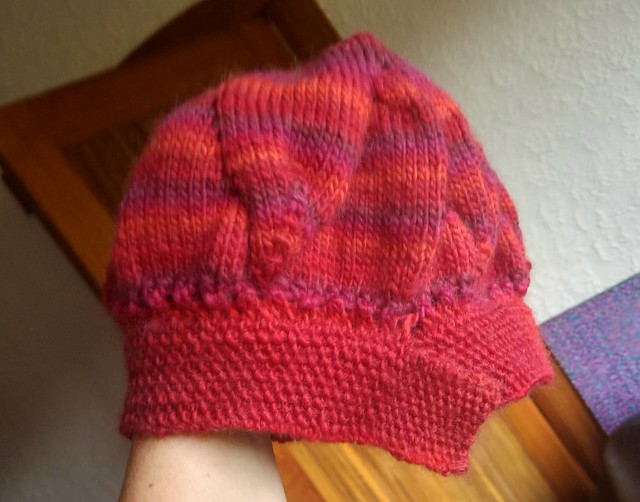
But I found the band confusing, and put it aside. For 7 months. Today I was stuck on the couch with a summer cold, so grabbed it back out – and finished it! All I have left to do it get a button for the band. I’ll take a better photo when I’m not feeling so ucky.
Terribly photographed, but proof the because of a summer cold I've finally done the band of this beret.

Posted in Knitting | Comments Off on Verity Beret

Scott’s Hat and Cowl

I taught myself to knit when my last dog died – way back in 2007. The first things I knitted were a scarf and a hat for my husband, and he still wears them. He still wears them even thought they were made of nasty Spotlight wool, were made by someone teaching herself from a book, and are showing the wear of years! And he proudly tells people I knitted them for him.

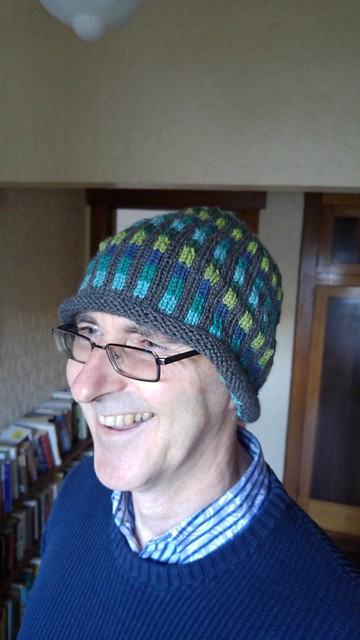
So for Christmas I gave him a bunch of wool and a choice of patterns. I’ve finished a new hat and cowl for him – all but for weaving in the ends of the different colours. (Of course it’s a colourwork project! Everything since my colourwork class has been!)
Hat completed (but not yet blocked) 'look into the light!)

I’m so pleased that he’ll have something new to wear this coming winter, but I haven’t taken a photo of him in his new matched set yet as it would be a bit cruel in today’s heat.
Scott's cowl - almost finished

Posted in Knitting | Comments Off on Scott’s Hat and Cowl

Bright Baby Quilts

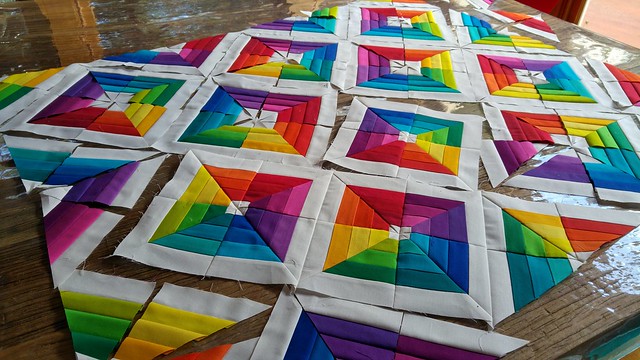
Some lovely friends were having a baby. I wanted to surprise the new mum-to-be, so I asked her husband how they were decorating or what colours they preferred. At that time they had only bought one decoration for their girl’s room, and it was rainbow coloured. They didn’t want to be inundated with pink. I knew exactly what I wanted to do, but I’d have to order fabric from overseas. Drat.

So first I started another quilt. If the fabric didn’t arrive in time for me to whip up a quilt before we headed overseas to Japan, at least they’d have something. And I could always send the quilt I wanted to make for them later.
A new project. Well, leftovers from a new project. #qulting

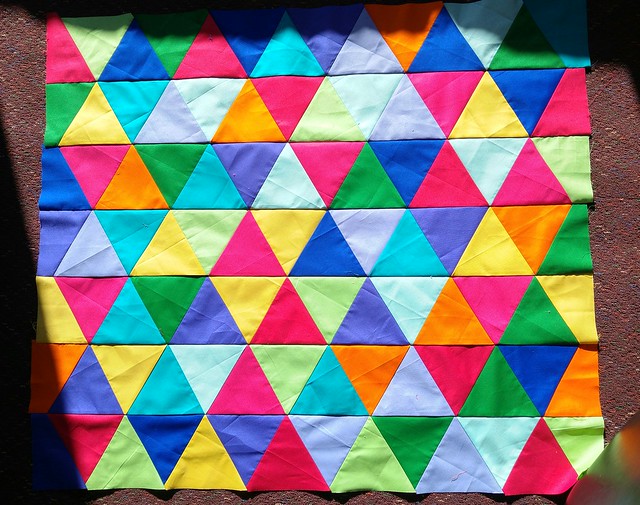
It was an idea I’d been throwing around for a while, but I decided to just go with is in colours I had in my stash.
New quilt top finished.

Not awful, but not the quilt I had my heart set on making for them! And the fabric from overseas had gone lost. The tracking said it was delivered, but it hadn’t been. Then a week later, a battered and soggy package arrived. The fabric?! Luckily the water hadn’t penetrated all the packaging. I have no idea where it had been!
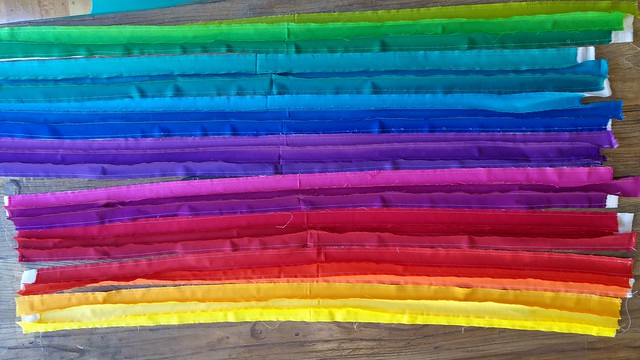
A new project.

I didn’t have long before we were heading overseas, but I sewed and cut. . .
The basic idea

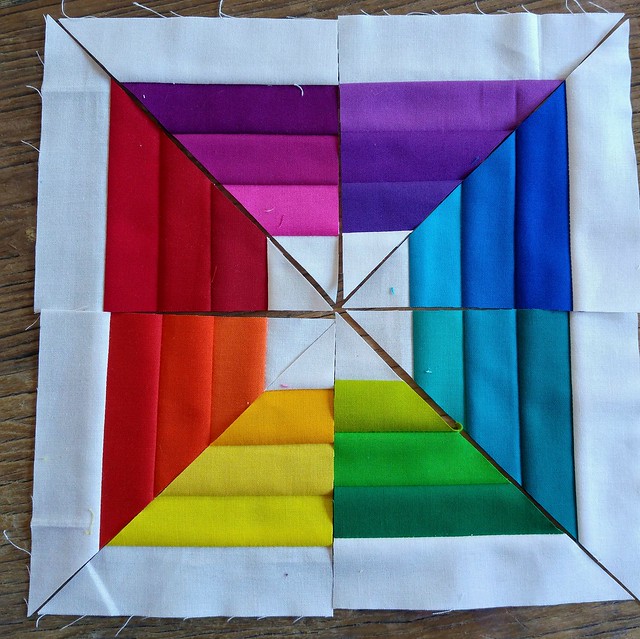
Does your heart soar when a quilt you’re making for a friend comes together and it’s just what you hoped for? Mine does!
This quilt pleases me.

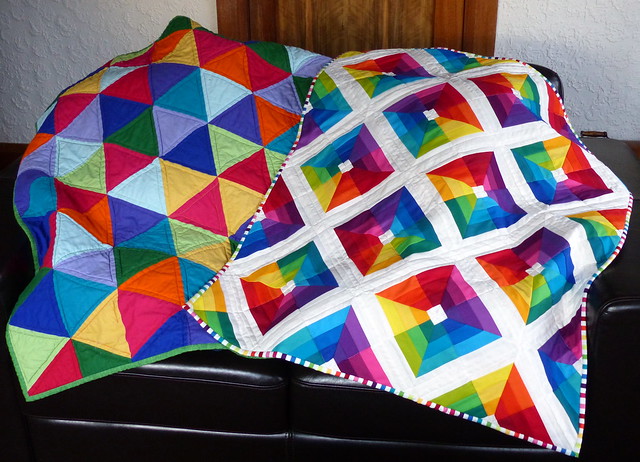
So I wound up with 2 quilts for our dear friends. One was a fun experiment, and one the quilt I adore. You can never have too many with a bub.
Quilts for Pip and Nat

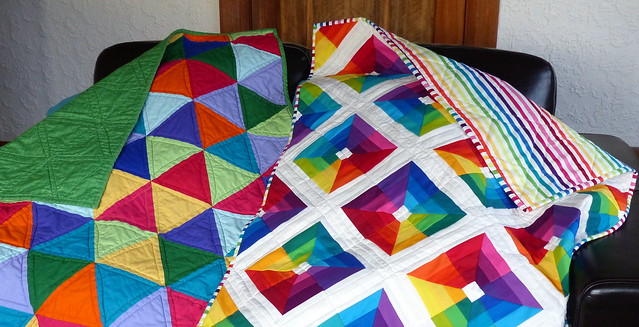
And I just happened to have the perfect fabric to back the rainbow quilt already in my stash. Ah. I love it when a plan comes together.
Quilts for Pip and Nat, and Backing

Posted in Quilting | Comments Off on Bright Baby Quilts

Project 48: 1 of 48

I’ve been doing more knitting than quilting in the past year, so when my friend suggested we do Project 48 together I thought it sounded like fun. I’ve only done one mystery quilt before. Part of me loves them, but the anally retentive part of me doesn’t. Loss of control! How can I choose fabrics when I don’t know what’s coming! However the idea of 1) how fun it would be doing the blocks along with a friend (like the quilt-a-long I did last year) plus 2) getting the rust off my quilting skills and having a reason to do different sorts of block I might not have otherwise do won on the day.

The first block was released yesterday. I’ve decided that for this quilt I’ll stash dive (i.e. use fabrics already in my stash). To satisfy my anal-retentive-colour-freakishness I’ll give each block a dominant colour from the rainbow with plain white as the ‘background’. So there will probably be 8 blocks centred around 6 different colours. There is a block released each week, and each month the blocks have a different theme. The first month’s block theme is ‘nine patch’, and it will be interesting to see how the different designers interpret the different themes.

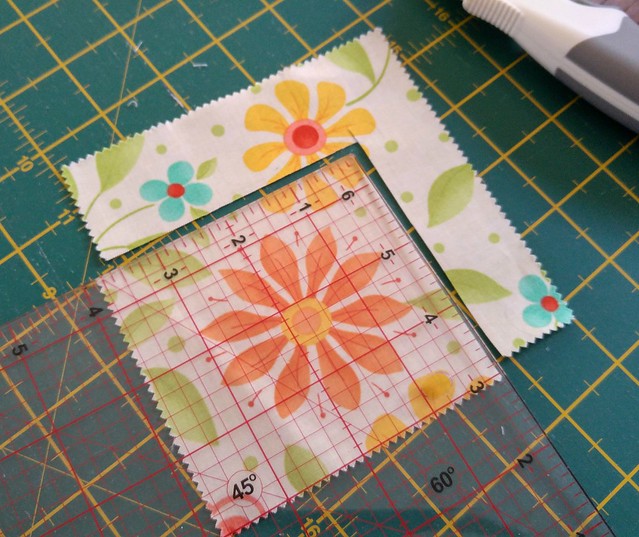
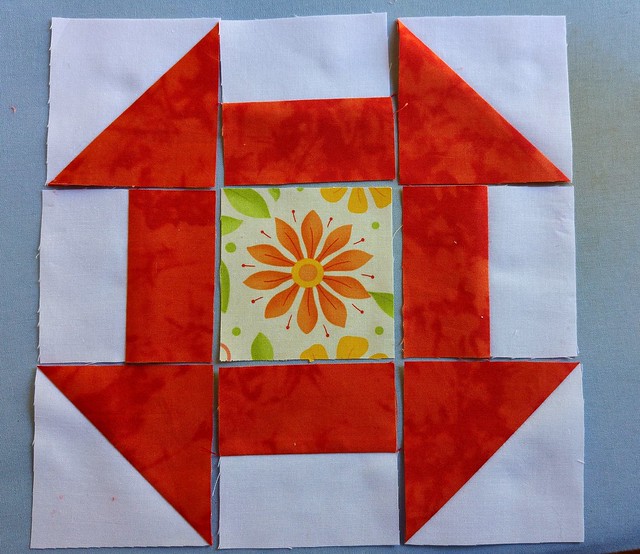
I don’t like orange, so I decided to make the dominant colour for the 1st block orange to kinda get one out of the way. I don’t usually like doing fussy cutting as it can waste fabric and my anal retentiveness doesn’t like that, but I thought why not! I chose a charm pack square to fussy cut the centre block. As I’m very fussy indeed, for the 3 1/2 block I put the ruler’s 1.75 inch measurement in the centre of the flower.
Fussy cutting the centre block

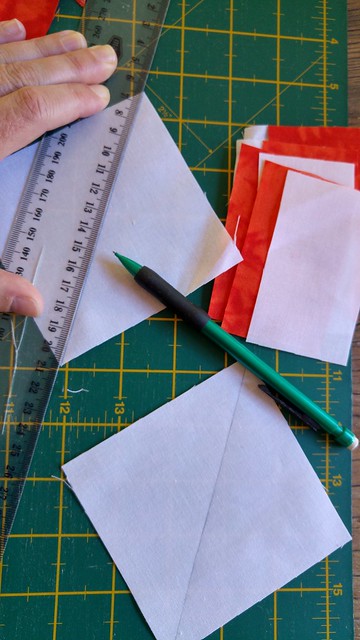
My friend doesn’t have as much experience with half square triangles (HSTs), so while I put my block together I took a lot of photos. To start off my HSTs, first I drew a diagonal line through one of my 4 inch blocks with pencil. If you are using a fabric with a definite front and back, this must be done on the back. There are other methods people use without marking the back (these are especially useful if you’re doing a gazillion HSTs), but I might leave that for another time. For this block you only need to mark 2 squares, so it’s not time consuming.
Marking the diagonal centre of the squares

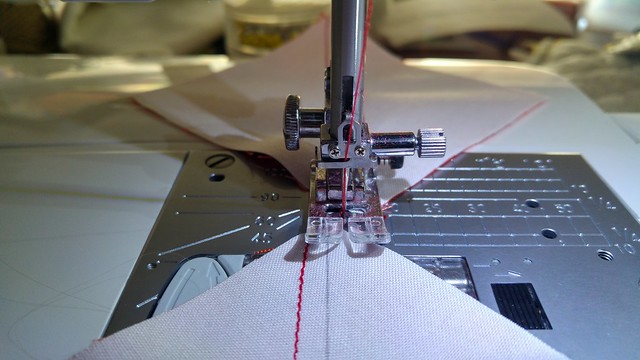
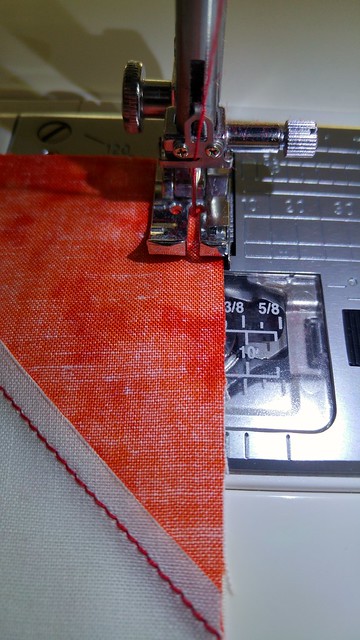
Now with 2 squares of fabric face together, sew a scant 1/4 seam on each side of the diagonal line. You can’t use a 1/4 inch guide foot for this as it pushes down the fabric since it’s designed to run next to the edges of fabric, so measure where 1/4 inch is on your main foot. When you are sewing a lot of small things, i.e. quilting, I find it useful to do it in a ‘chain’, i.e. don’t cut the threads between pieces. In fact, before I sew my 1st piece I often sew through an off cut selvage or something. This will help it feed better and ensure the 1st little corner isn’t sunk into the machine. (My seam really isn’t perfect here; it’s been too long since I did any sewing!) Once you’ve sewed all the pieces, you can easily snip them apart.
Sewing a scant 1/4 inch to either side of the diagonal

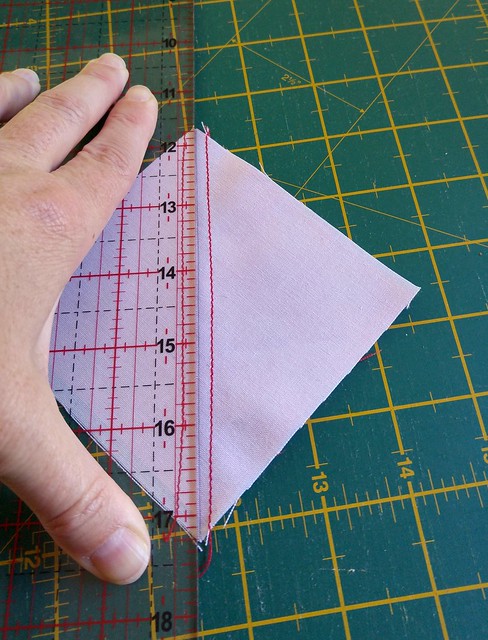
After sewing 1/4 seams on both side of the diagonal line, cut along the diagonal line. If you are very anal retentive indeed, press the seams down before you do this. Wow, my seams are terrible! I’ve forgotten how to sew a straight line. Perhaps I should have had coffee BEFORE sewing this morning.
Cutting down the centre

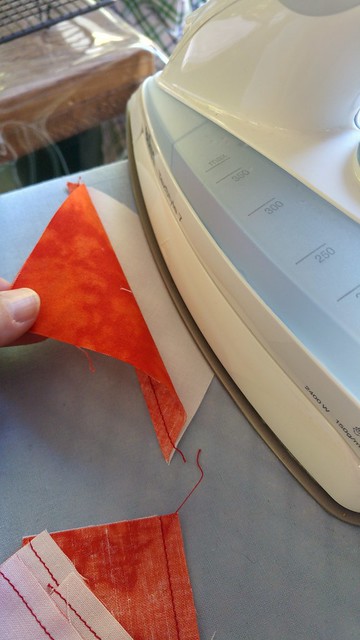
Press the HST open towards the dark side, i.e. the seam will be folded towards the darker colour. This helps prevent the fabric behind showing through the lighter colour.
Pressing towards the darker colour

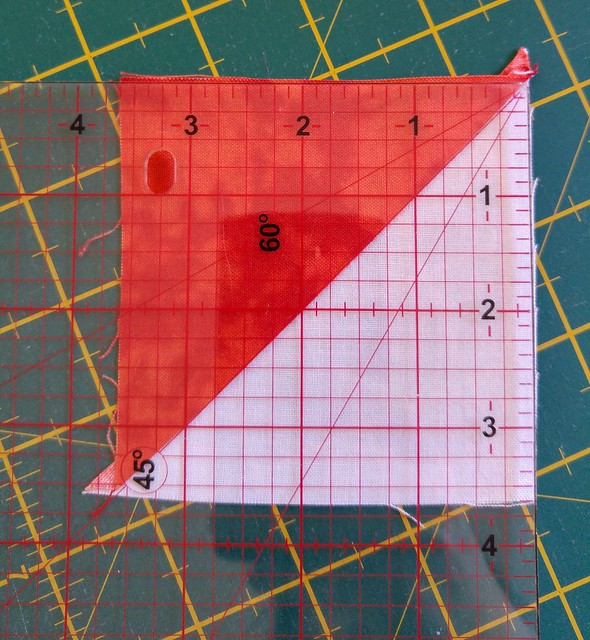
Now you’re ready to start trimming the HST. Note that the square is slightly larger than the finished size, 3 1/2 inches. Also note that it’s more important to line up the diagonal seam on the 45 degree angle than to line up the edges of the fabric to the ruler.
First cuts trimming the half square triangle to size

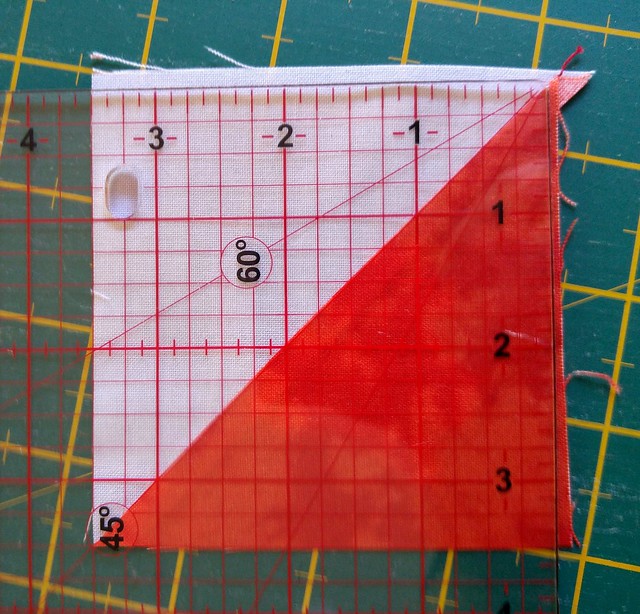
Turn the square around, line up the edges to the correct measurement (3 1/2 inches in this case) and the diagonal along the 45 degree marking, and make the final trims to your square.
Final cuts to trim the HST

Once I’d also sewn together the four 1/2 and 1/2 pieces, I was ready to put the block together.
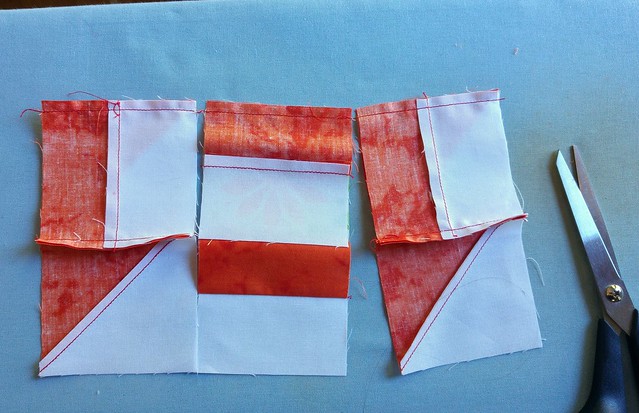
Completed pieces ready to form the block

First I sewed columns together.
Scant 1/4 inch seam

As before, I ‘chained’ them together and cut them apart when I was finished.
Pieces together in a chain

Once I had the columns together, I thought about how I wanted to press the seams. The important thing about this is when I sew the rows together, I want the seam where the different pieces meet to be pressed in the opposite direction. If you do this they will lock or nest together, i.e. the bulk of the fabric will be balanced where 4 pieces meet. If you don’t do this there will be a lot of fabric stacked on one side of where 4 pieces meet and hardly any on the other side and the join won’t be neat.
Seams ready to nest

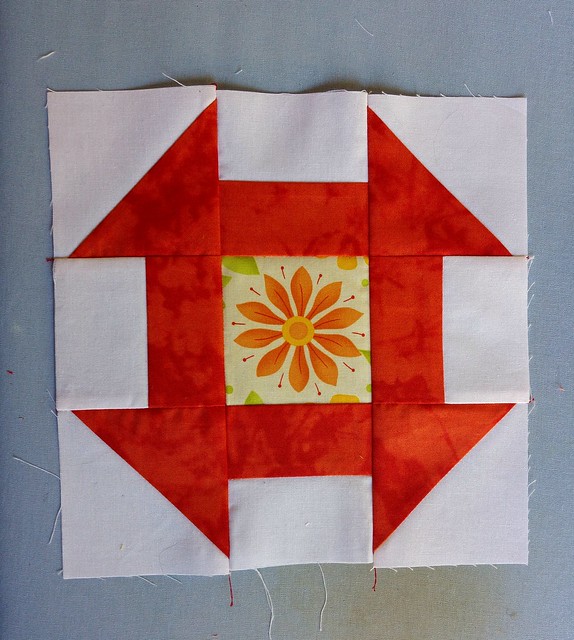
Not perfect, but finished! And very orange.
1/48 Finished

Posted in Project 48, Quilting | Comments Off on Project 48: 1 of 48

Knitted Christmas Balls

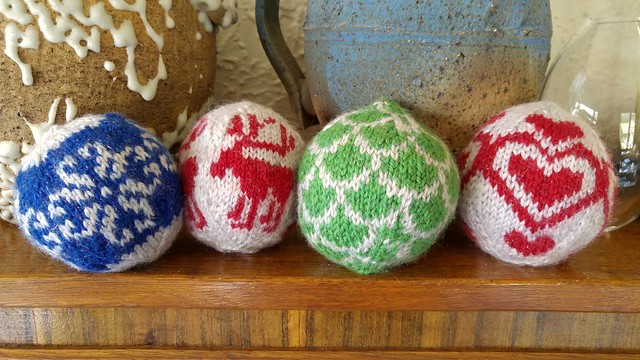
After doing a colourwork class at The Stash Cupboard with Bec and Cat, I was a bit obsessed with colourwork. And with Christmas approaching, it was the perfect time to get out the Arne and Carlos book I’d bought (and failed to make anything from) a couple years ago. 55 Christmas Balls to Knit!

It quickly became an addition.
4 balls

I even designed my own.
Oops - finished

I just couldn’t stop.
7 knitted balls so far

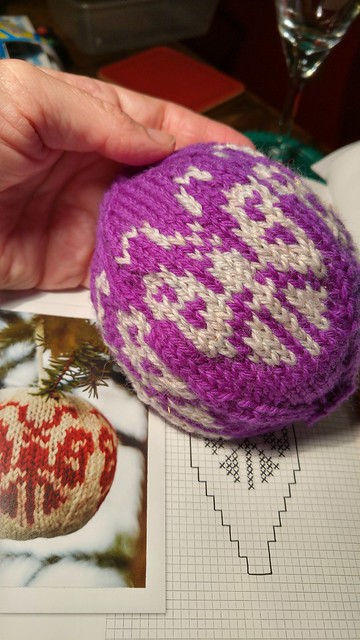
The butterfly, done in purple, was a perfect gift for a friend.
The sparkle doesn't show.

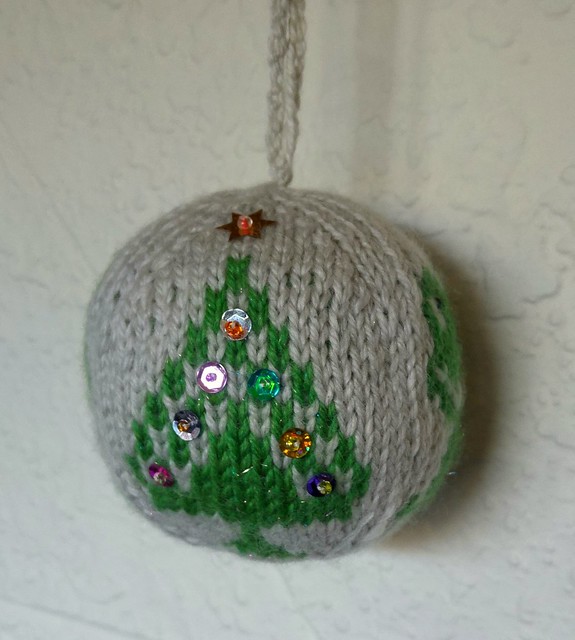
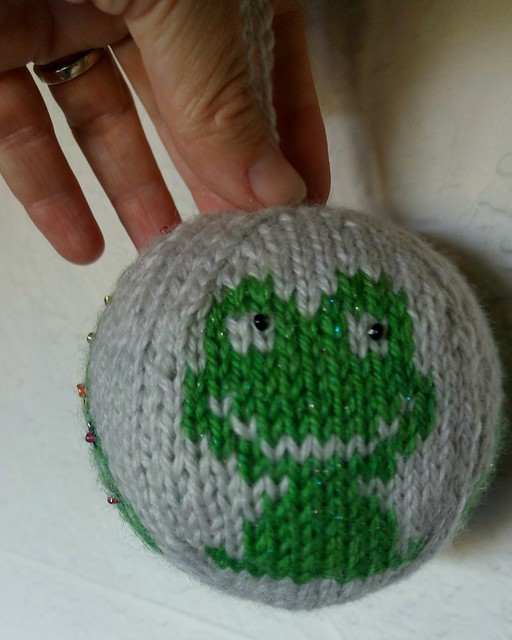
The Christmas tree, with the addition of frogs, was the perfect gift for some frog-obsessed friends who host an annual Christmas BBQ.
Christmas tree
Frog

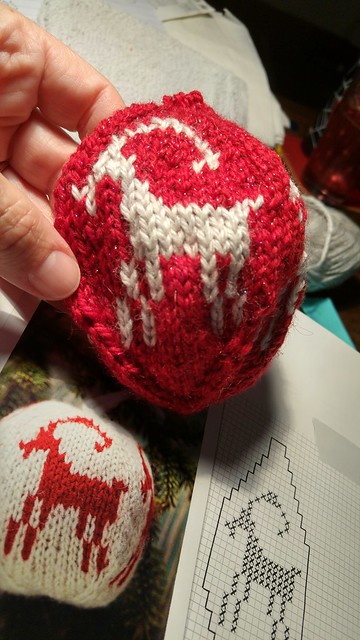
A friend and I have challenged each other to knit all of them by next Christmas (a task not made easier by Arne and Carlos publishing more small balls!). They will make fantastic gifts. I already know that my tante will get!
Julbock!

Posted in 55 Christmas Balls, Knitting | Comments Off on Knitted Christmas Balls

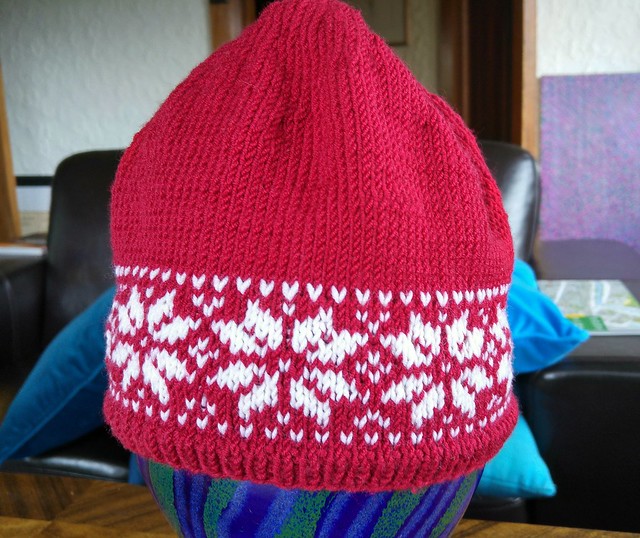
Colourwork Class: Scandinavian Snowflake Beanie

A couple years ago I saw the book Arne & Carlos 55 Christmas Balls to Knit at The Stash Cupboard and fell in love. Scandinavian patterns! Julbock! Hearts patterns! Frost! I’m a bit stubborn and assumed I could just figure out how to do colourwork; I failed miserably.

I’d hoped that The Stash Cupboard would run a colourwork class, and of course they finally did! (I only say ‘finally’ as I’m not a patient person.)
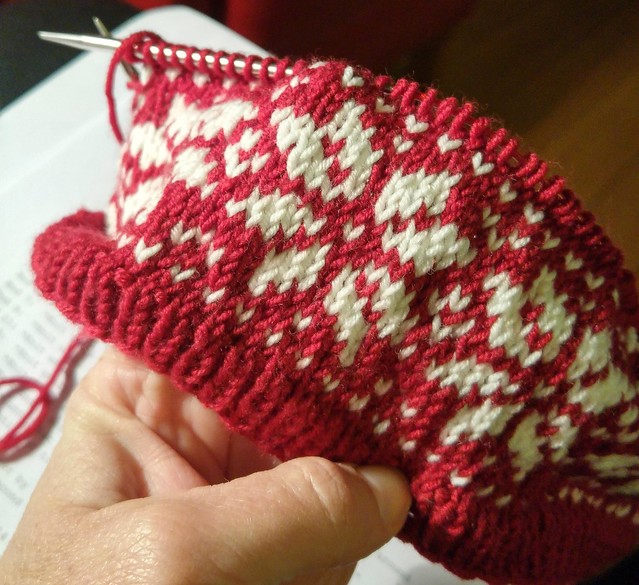
First doubled stranded colourwork!

It was so easy with good instructors.
1st colourwork project finished!

And once I had the knack of it, I was in LOVE with colourwork.

Posted in Knitting | Comments Off on Colourwork Class: Scandinavian Snowflake Beanie

Quilted Pillow Covers

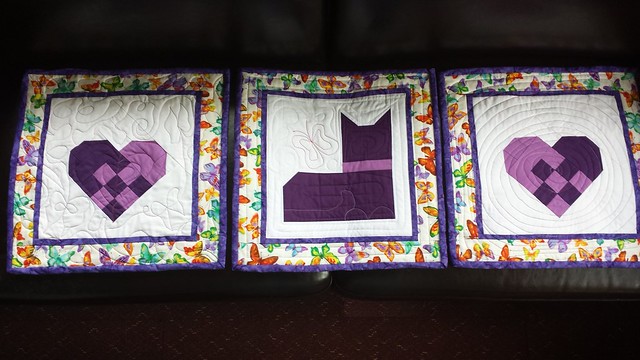
When I made the pillow covers for my cousins, this was what I kinda had in mind. A lovely friend of mine had liked the heart block I did for my mum, so I thought I’d do something for her. I did 2 pillows with heart blocks, then I decided to also do a cat one. This meant I needed more fabric – I already had a butterfly print for the borders, however now there wasn’t enough. So back to the fabric store, and the fabric I got this time I actually like even better as it has more colours. I loved making these and thinking of my friend!
I powered through this morning and finished them! @FlitterbyG

Posted in Quilting, Sewing Projects | Comments Off on Quilted Pillow Covers

L & A’s Quilted Pillows

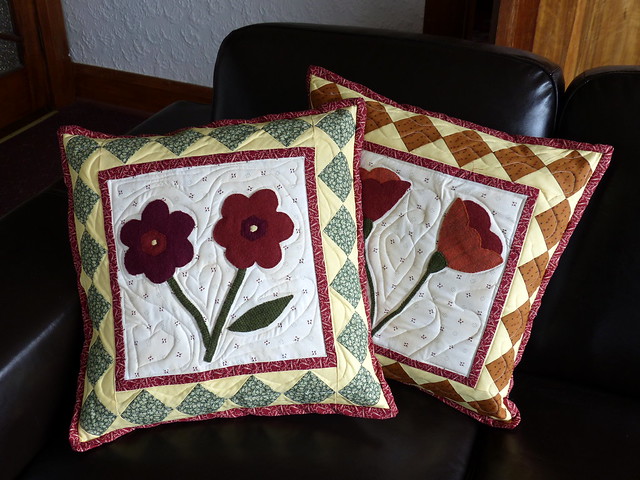
I wanted to make something for my cousin and his new wife and also wanted to try out wool applique. Somehow I decided to make some pillows (I had another project in mind and wanted to try out pillows). I don’t know much about my cousin’s wife. I was told she likes yellow and old things, and other things of theirs that I have seen have had a sort of earthy palette. So I chose some reproduction fabrics and some wool and had a go. This is the result:
Cushion Covers 1

Posted in Quilting, Sewing Projects | Comments Off on L & A’s Quilted Pillows