Today the 2nd block for Project 48 was published! As I mentioned last week, this is a mystery quilt-a-long I’m doing along with a friend. There’s lots of people from all over world doing Project 48, and it’s been really interesting seeing everyone’s blocks on Facebook as we all complete them. It is really educational and inspirational to see how the different fabric choices make such a difference in them all!
I’ve given myself the following ‘guidelines’:
- I’ll stash dive, i.e. only use fabrics I already have.
- I’ll use white as a ‘background’ colour, although if I don’t want to put white in a block I won’t worry about it.
- Each block will be centred around bright colours.
- There will be 8 blocks centred around 6 different bright colours.
- I can always do more than one of a certain block if I don’t like how it’s turned out.
- Try to have some fun and not be intensely anally retentive (sure).
I don’t like orange very much, so for the second week in a row I’ve decided to knock another orange block off!
Last week’s block was a traditional one, so this week’s block is a modern spin on the traditional theme. This month’s theme is 9 patch, and this week we’re doing a disappearing 9 patch. It’s just the sort of block I’m excited about playing with!
Looking through my stash, I wanted a medium large pattern to use for the blocks that don’t get re-cut. I almost used some geometric florals I have that are the same pattern but in 4 different colours, but it didn’t really come together in my mind – or really have one dominant colour. I also had a great fat quarter with some cool owls – lots of great colours, so I could pick one out as a dominant – however 1) it would add a lot of darkness to the block and 2) as there are only 2 other fabrics in the block there wouldn’t be much colour unless I eliminated white from the block.
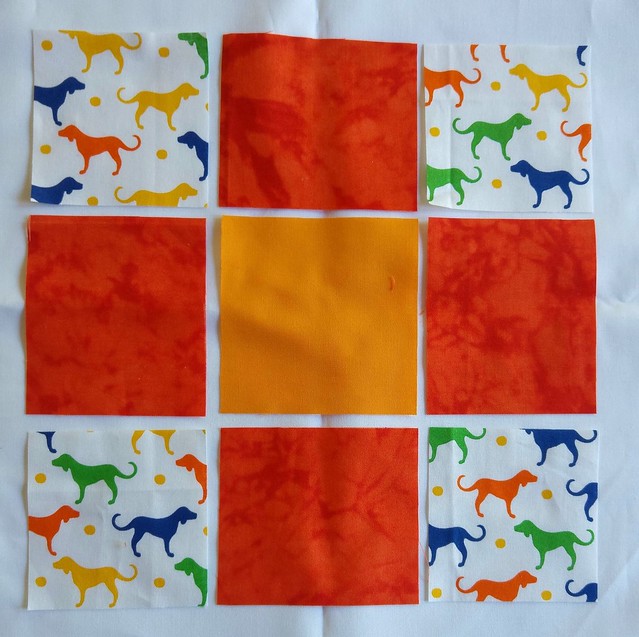
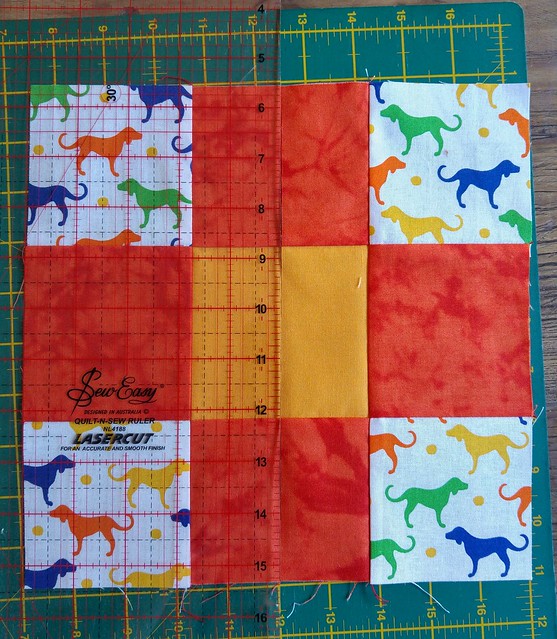
Looking around some more I found some different coloured dogs on a white background, so I decided to use that as both my ‘unifying white’ and as the pattern block. I was going to be a bit fussy about how I cut it up, but in the end decided to just let it come as it comes. I do wish on the Project 48 instructions they labeled the different fabrics. They refer to fabric 1, fabric 2, etc in the instructions, but it can take a bit to figure out which is which. Here’s my fabrics:
The instructions do mention to press seams towards fabric 2; this helps the fabric ‘nest’ when you sew together the 9 patch block. It might seem really fussy, but that difference in thickness certainly can make a difference to the final result – the more seams coming together, the more important it becomes.

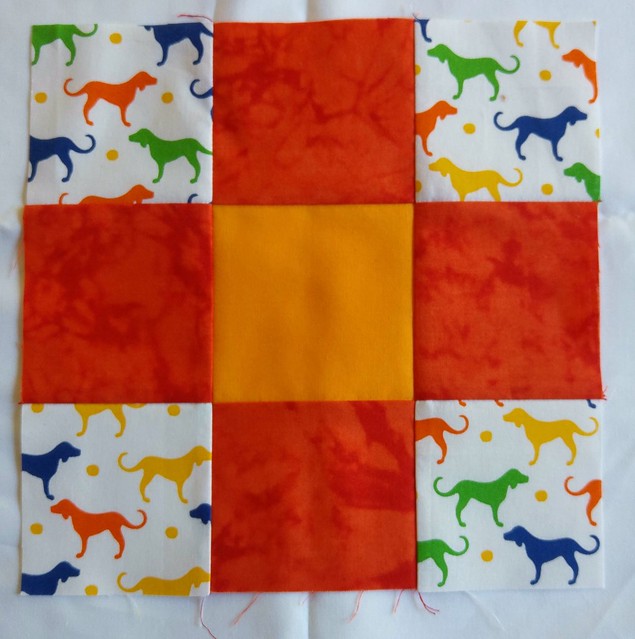
Here’s the 9 patch, where a traditional block would stop.
However this block is going a bit further; it will now be cut up and rearranged. One thing that’s not mentioned in the Project 48 tutorial that I think is worth mentioning is that when cutting up or trimming a block, don’t necessarily line the edge of the block up with the ruler. Internal seams can be a better guide.
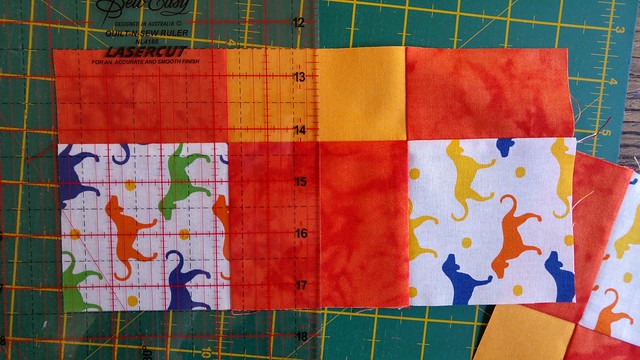
The writer of this week’s block tutorial mentions she always pins each seam. It really shows how different we all are: I almost next pin seams when quilting. I find it more important to nest seams at right angles to what I’m sewing and ensure the seams I’m sewing over aren’t ‘flipped’ as I sew across them. And to me pinning can often change the alignment; I prefer to perfect as I go. Obviously pinning works for her; her block looks perfect. Perhaps I don’t pin correctly?
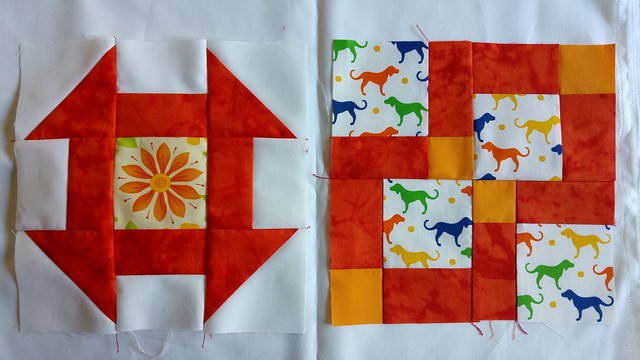
Here’s the finished block after the 9 patch was cut up and put back together.
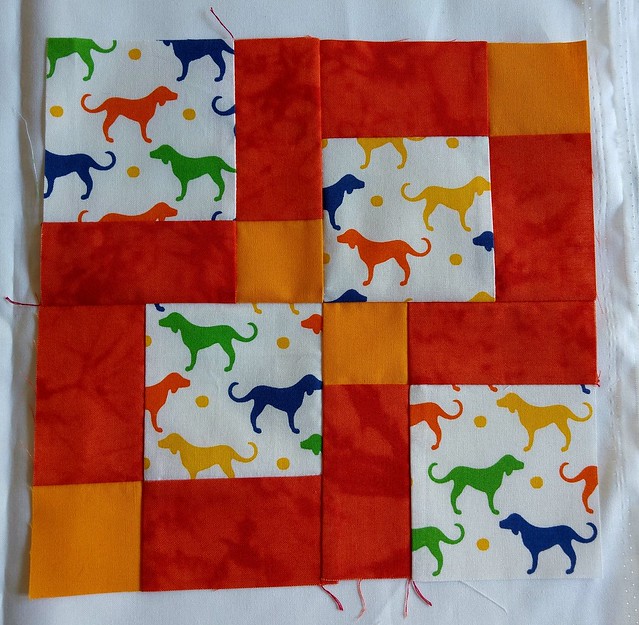
Blocks 1 and 2 of 48.